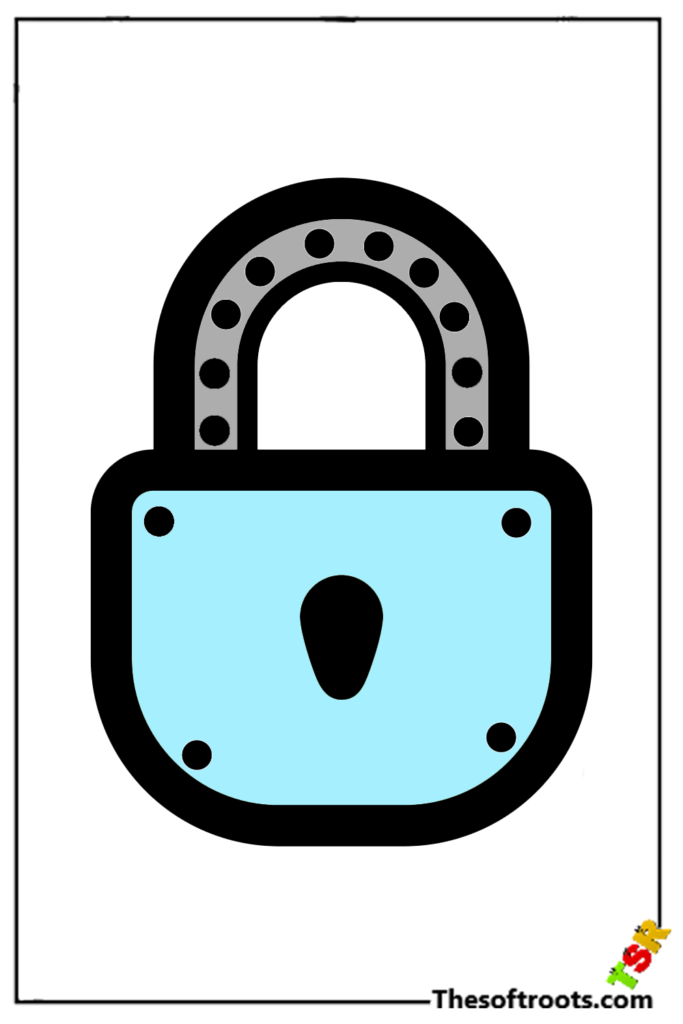
Lock
At times, your property might be in circumstances where it is at risk of being taken or broken into. This isn’t very good to be in, yet fortunately, there are measures one can take to guarantee that this property is guarded tremendously. A lock is a straightforward gadget; however, it is exceptionally viable for keeping possessions secure and unavailable. They can come in a wide range of shapes and sizes, and despite the straightforwardness of their plan, it may be precarious to figure out how to draw a latch.
Visit the Lion coloring printable.
That is why this instructional exercise is here, as it will tell you the best way to draw one of these convenient gadgets without any problem! We trust that you appreciate opening the mysteries of this, attracting our bit-by-bit guide on the most proficient method to attract a latch 6 stages!
Stage 1 – Lock Drawing
To get everything rolling with this aide on the most proficient method to draw a latch, we will start by drawing the fundamental piece of the lock. While drawing this primary piece of the latch, attempt to keep the aspects this rectangular article would have on the off chance that you were grasping it. Utilize two vertical lines near one another for the dainty side of the latch, and afterward, utilize a somewhat bent level one for the base. Polish off by defining one more bent vertical boundary for the opposite side of the latch. Its highest point will be clear for now, yet we will fill that clear in without further ado!
Stage 2 – Draw the top edge of the lock
This second piece of your lock drawing will see you filling in the spaces left in the past step. Yet again, you will attract the top edge of the latch this step and utilize a few somewhat bent lines to interface each of the past edges of the lock. As you draw, leave two tiny spaces at the top. The reference picture will direct you concerning how these ought to be situated, and these will have the metal bar of the latch going through them later.
Stage 3 – Presently, draw the keyhole of the lock
A latch would be possible with a keyhole, as it would keep the proprietor out of their property and likely gatecrashers! That is why we should add a keyhole in this aid step on the most proficient method to draw a latch. The situation of keyholes can fluctuate contingent upon the make of the latch, yet this one will be on the facade of it. The keyhole will have a round top to it, and afterward, it will have a rectangular part underneath. Add a few additional lines to the inside to give this keyhole some profundity, and afterward, we can continue.
Stage 4 – Next, draw the bar of the latch
Another significant element of any latch is the metal bar stretching out from it. We will draw this viewpoint for this piece of your latch drawing.
In this step, you will fill in those holes left at the highest point of the lock in the previous step. While drawing this bar, the smoother you can get, the better. There’s likewise a seriously exact shape to it, so make an honest effort to take it gradually and duplicate the lines as they show up in our reference picture. When the bar is drawn, you can continue toward a few last subtleties in the following stage!
Stage 5 – Add the last subtleties to your lock drawing.
You’re prepared to add some last contacts in this fifth step of our aid on the best way to draw a latch! The whole framework of the latch is finished at this stage, so that we will add subtleties for more authenticity. To do this, we will add a few thick, genuinely straight lines onto different sides of the lock to make some concealing subtleties. You can add more of these concealing subtleties if you like them too!
Before you continue toward the last step of the aide, you can draw a few additional subtleties. How about this lock getting? You could show us your thoughts by drawing a foundation for this picture. It would be fascinating to see what you would utilize this latch on!
Stage 6 – Polish off your lock drawing with a variety of.
This is the last step of your lock drawing, and you can polish it off by adding variety to the picture. In our reference picture, we involved a few shades of gold and yellows for the whole body of the latch. This assists with providing that segment with a look of being made of sparkling bronze. We utilized a few greys for the bar to cause it to appear more metallic. These are the ones we picked, yet there are wide more varieties you could likewise utilize! If you’re going for a metallic look, stick a light sprinkling of gold or silver sparkle onto it to make the metal look gleaming.
Also Read Ezomblog