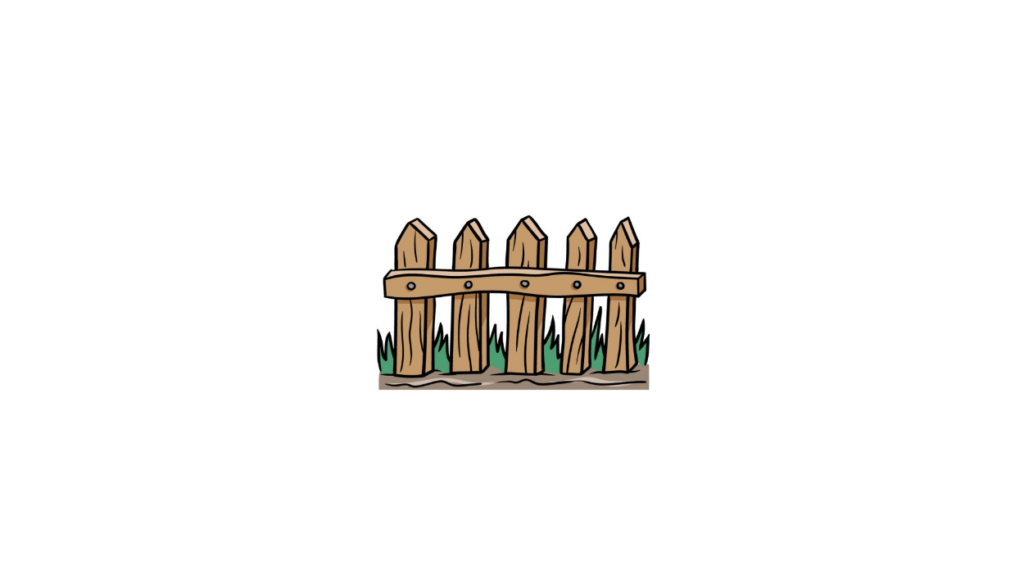
How to Draw A Fence. A fence is usually a simple structure but can serve many important functions. They can help keep livestock and wildlife safe and separate, add a little security to homes, or serve as a decorative element!
Also, check our unicorn coloring page.
Regardless of their function, they can come in many different patterns and designs, and it can be fun to create your variation by learning how to draw a fence.
By the end of this guide, you will know how to do it!
Our step-by-step guide to drawing a fence in just 6 easy steps will show you how to design your fences while having fun.
How to Draw A Fence
Step 1
In this first phase of our guide on drawing a fence, we will start with the horizontal support beam of the fence and start with the outlines of the vertical battens.
We’ll start with this horizontal bar first. To do this, we draw a long, thin rectangular shape.
You might be tempted to use a ruler for this, but you should freehand draw this beam as we want it to look like it’s made of raw wood.
Next, draw a line across it and add a small square shape at the end to give it a 3D look.
Finally, you can use fairly rough vertical lines for the slats at the ends of the fence. Then you can finish by adding some sharp, jagged lines on the ground near the ends of the fence to get some grass detail.
Step 2
You started drawing the fence pickets earlier in this guide, and now we’ll draw more.
The first vertical line on the left lets you draw a long, pointed shape that we’ll use for all the slats.
This shape has another line coming down from the top, so let’s create a similar 3D effect to the horizontal bar by adding some lines on the side.
Then you can draw another such slat to the right of it. There will also be more jagged lines between them to have more grass in the picture.
Finally, draw a small circle on the horizontal bar that each slat sits on to make it look like it’s nailed there.
Step 3
Now you got the hang of it! You will draw another picket for your fence for this step of our how-to-draw-a-fence guide.
This one will be very similar to the previous ones, drawn with the same freehand straight lines.
Add some grass in between and draw a small circle for the nail that attaches it to the horizontal beam. That’s all for this step, so you can move on to step 4.
Step 4
In this fourth step of the fence design, you will add one more batten before starting on the final details in the next step.
Just use the steps you’ve used so far to draw the slats for this one, except it will be slightly thinner than the others.
After you’ve drawn this slat, there should be a space for another one at the end of the fence, and we’ll soon be filling that space in the next step.
Step 5
In the fifth part of this guide on drawing a fence, we will complete the last details and elements so that you can colour it.
First, you can draw another slat in the fence in the gap.
Then you can finish with details like nails for the slats and grass in between like you did for everyone else.
Now that all the slats are drawn, we must add some final details! Mainly, we will add some slightly wavy lines to the wood that makes up the fence ecommerce SEO solutions houston, which will help give it a more woody look.
So you are ready to move on to the final step. Before doing that, you can add some background details or other cool additions that suit this image. We can’t wait to see what you come up with!
Step 6
Now that you’ve completed all the steps of your fence drawing, it’s time to relax with some coloring fun!
In our image, we chose shades of brown for the fence and green for the grass. We can also paint fences in many colors, so you have many options for the colors you could use!
Color any added background elements, and have fun trying different art mediums!
Your Fence Drawing is Finished!